SinterForge
Current Version: v0.3.6
Status: Maintenance Mode
License: MIT
SinterForge began as a tool to bridge the gap between resin printing and industrial SLS machines. It works, but it taught me a valuable lesson: sometimes the platform itself is the bottleneck.
📖 The “Perfect” Problem
It started when I bought a Mars 5 Ultra.
My goal was simple: print high-quality proxies for Warhammer 40k and Trench Crusade. But as I fell deeper into the 3D printing rabbit hole, I started printing functional tools for my workshop—specifically Wago dispensers and organizers.
The prints came out technically perfect… too perfect.
If you’ve printed with resin, you know the look: glossy, smooth, almost wet-looking plastic. It feels cheap on a tool, and it looks fake on a “grimdark” miniature. I found myself missing the gritty, matte, “premium” texture you get from expensive nylon SLS prints.
I realized that if I wanted that texture, I had to build it myself. SinterForge was my attempt to procedurally generate that “grit.”
⚙️ The Approach
I built SinterForge as a Blender Add-on because Blender is where I do my modeling. The logic was sound:
- Mechanical Mode: Use non-destructive subdivision to roughen surface faces while keeping edges sharp (great for functional parts).
- Organic Mode: Voxel remesh the entire object into a single “cloud” and apply heavy noise (great for rusted armor).
Technically, it succeeded. I could take a raw STL, click a button, and get a model that looked like cast iron or sintered nylon.
🛑 The Wall: Blender’s Limitations
However, as the project grew, I hit hard limitations within Blender’s architecture and the Python API that convinced me this approach is a dead end for what I truly want to achieve.
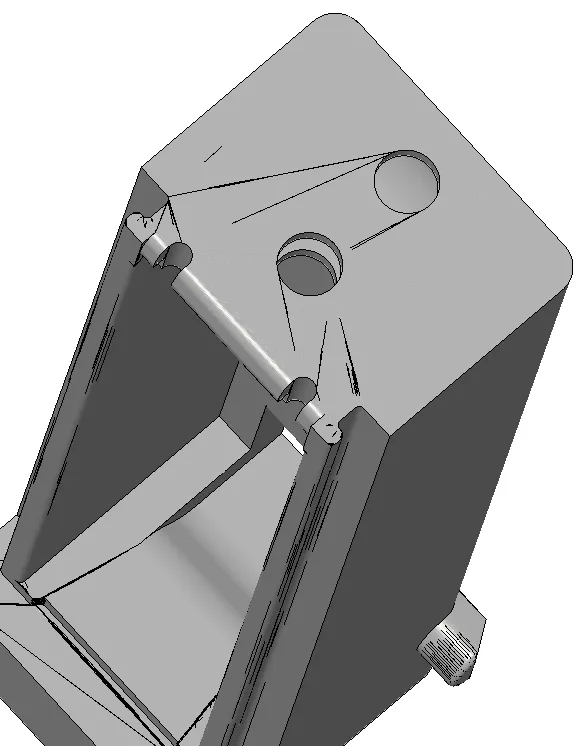
1. Geometry Destruction
To create a physical texture that a 4K/8K printer can resolve, you need geometry. Displacement maps in render engines are fake; they just bounce light differently. For printing, I needed real bumps and pits.
This meant sub-dividing meshes to millions of polygons. SinterForge essentially destroys the topology of your model to create the surface finish. Once you “Forge” a model, it is no longer editable. It is a dense, heavy, unmanageable lump of triangles destined only for the slicer.
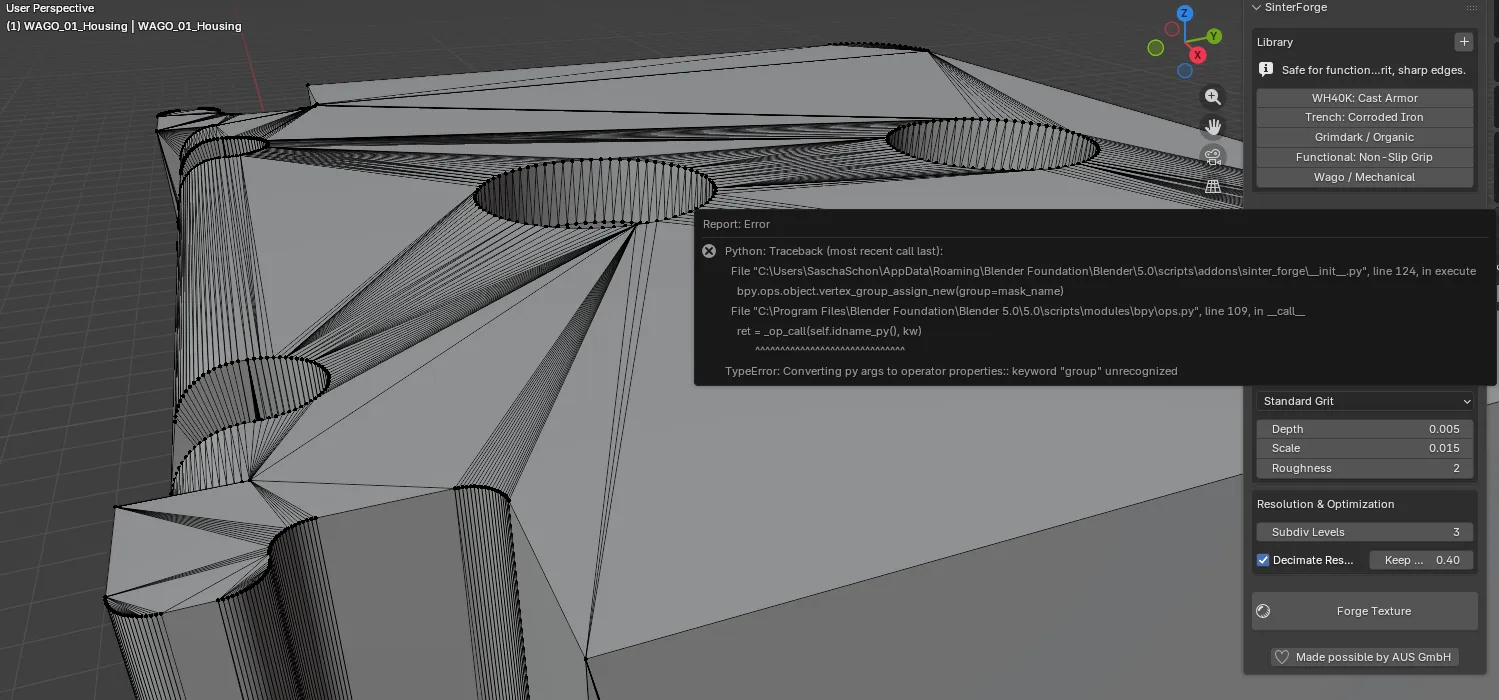
2. The Singleton Data Problem
Blender handles texture data blocks globally. SinterForge creates a texture block SF_Texture.
If you have five parts in your scene and you want one to have “Light Rust” and another to have “Heavy Grit,” you can’t. Changing the settings updates the global SF_Texture block, causing every object in the scene to update instantly.
To fix this, I would have to manage unique data block instances for every single object, which bloats the file and makes the UI logic incredibly complex.
3. Performance & The “Write-Only” Workflow
Because we are manipulating millions of vertices via Python scripts:
- Viewport Lag: The scene becomes sluggish.
- File Bloat:
.blendfiles explode in size. - No Memory: Settings are stored in the Scene, not the Object. If you forge an object today and come back next week, you have no idea what settings were used. You can’t “tweak” it; you can only delete it and start over.
🔮 The Future: Going Standalone
SinterForge proved that the visual concept is valid. The prints look incredible. But the implementation is fighting against the tool.
Blender is designed for art, animation, and rendering. It is not optimized to be a mesh processing pipeline for high-density STL generation.
My next step is to leave Blender behind for this specific task. I am currently exploring building a standalone Python library (or potentially Rust for performance) that acts as a pre-processing step before the slicer.
Imagine a CLI tool or a simple GUI where you drop an STL, apply a “Sinter Profile,” and it spits out the textured STL. No scene graph, no viewports, no overhead—just pure matrix math and geometry processing.
SinterForge in Blender is still useful for quick one-offs, but for a true production workflow, we need to build our own engine.